Klipper: Configuration
This page describes installing configuration files and setting up iDryer Unit in Klipper. The controller firmware must be installed first — see Firmware Installation.
Configuration: mcu or second_mcu
iDryer Unit connects to Klipper in two ways:
iDryer Unit runs as the main MCU on a dedicated host (e.g., a Raspberry Pi for the dryer only). Config section:
Installing configuration files
1. Connect to the host via SSH
2. Navigate to the config directory
The path may differ: ~/klipper_config/ or ~/printer_data/config/ depending on the installation version. Make sure the directory contains printer.cfg.
3. Download and run the install script
The script will create a directory with the required configuration files.
Manual configuration file installation
If installation through the script is not possible, download the project archive from GitHub and move the required configuration files through the Fluidd or Mainsail interface.
Download the project archive from GitHub
4. Include the config in printer.cfg
Add the following line at the top of printer.cfg:
5. Set the serial ID in iDryer.cfg
Get the controller ID:
In iDryer.cfg, in the [mcu iDryer] section, replace the placeholder with the obtained ID:
6. Connecting additional units (U2–U4)
By default, unit U1 is connected. Uncomment the required lines in iDryer.cfg:
Hardware configuration
Heater
[heater_generic iDryer_U1_Heater]
heater_pin: H_U1
max_power: 1
sensor_type: NTC 100K MGB18-104F39050L32
sensor_pin: T_U1
control: pid
pwm_cycle_time: 0.3
min_temp: 0
max_temp: 120
pid_Kp: 32.923
pid_Ki: 5.628
pid_Kd: 48.150
Fan
[heater_fan Fan_U1]
fan_speed: 1
pin: FAN_U1
# when using second_mcu: pin: iDryer:FAN_U1
heater: iDryer_U1_Heater
heater_temp: 55
Temperature and humidity sensor
Example using SHT3X on the I2C bus:
[temperature_sensor iDryer_U1_Air]
i2c_mcu: iDryer
sensor_type: SHT3X
i2c_bus: i2c0f
i2c_address: 68  # 68 or 69
U1 and U2 sensors share one I2C bus; U3 and U4 share another. Sensor addresses on the same bus must differ: one set to 68, the other to 69. For other sensor types, refer to the Klipper documentation.
PID calibration
Perform calibration with the dryer lid closed:
- Open the Klipper console.
- Run the command:
- Wait for it to complete.
- Save the obtained coefficients in
iDryer.cfg.
Damper servo configuration
1. Determining end positions
The servo is controlled by a PWM signal. Different servo models respond differently to the same values — configuration is always individual.
Do not attach the damper to the enclosure at this stage — first determine the working range.
Test end positions in the Klipper console:
If the servo hits the enclosure — adjust the range.
2. Saving angles to config
Check the servo section in iDryer.cfg:
[servo srv_U1]
pin: SRV_U1
maximum_servo_angle: 180
minimum_pulse_width: 0.00055
maximum_pulse_width: 0.002
In iDryer.cfg, in the DRY_U1 macro, set the angles:
variable_servo_open_angle: 40    # degrees for open position
variable_servo_closed_angle: 94  # degrees for closed position
3. Servo power correction
When using multiple servos, glitches may occur due to peak load on the host USB port.
Option 1 — resistor in the servo power line:
Install a 4–10 Ohm resistor in the servo power supply line. Revision 3 boards already have resistors soldered, but the specific resistance must be selected individually.
Option 2 — active USB hub:
Connect the controller via a USB hub with its own power supply — this eliminates host port overload.
Communication stability issues (dropouts, MCU reboots) may be caused by electromagnetic interference from power wires or the fan. Solutions — ferrite filter on the USB cable and RC snubber in parallel with the fan. → Troubleshooting
delta_high configuration
variable_delta_high controls the difference between the heater temperature and the target air temperature.
Configuration procedure:
- Set the initial value
variable_delta_high: 15. - Start heating with the
PA_U1macro. - Wait for the temperature to plateau.
- Check the chamber temperature:
- If the chamber is at 90 °C — the value is suitable.
- If lower — increase
variable_delta_high. - Let it run for 30 minutes, then check every 30–60 minutes.
If the heater sticks to the plastic enclosure — the plastic cannot withstand the temperature. Reduce variable_delta_high, reprint the enclosure in ABS or ABS-CF, or change the heater mounting method.
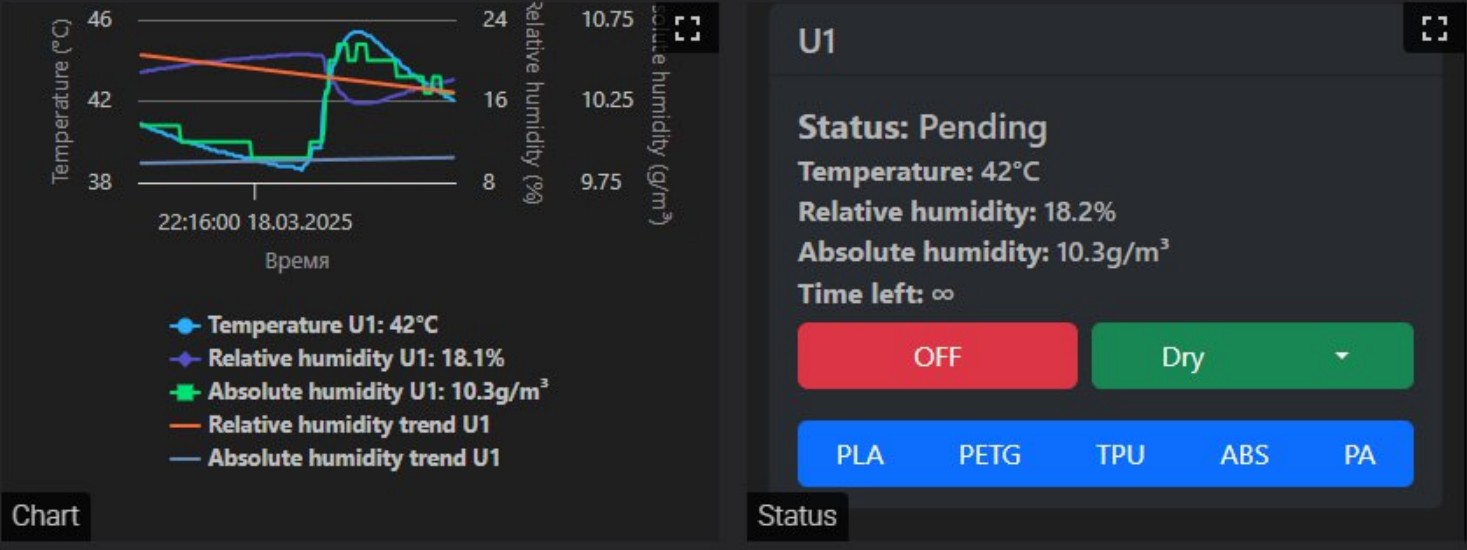
G-code macros
Use preset macros to control drying by material type:
| Macro | Temperature | Duration |
|---|---|---|
PLA_U1 |
55 °C | 180 min |
PETG_U1 |
65 °C | 240 min |
ABS_U1 |
80 °C | 240 min |
PA_U1 |
90 °C | 240 min |
TPU_U1 |
60 °C | 300 min |
OFF_U1 |
off | — |
Run a custom drying mode:
Open/close the damper manually:
Alternative control algorithm — PyUnit
Community project by @Xatang. Automatic maintenance of drying and storage parameters with configurable coefficients and informative graphs.