Klipper setup for iHeater Link
What this is for
This feature is intended for Klipper-based printers with a locked system: Creality, Qidi, Flashforge, and other modern printers where the user cannot build and install the iHeater firmware for direct Klipper integration.
Regular Klipper configuration files and user G-code macros are often still available. iHeater Link therefore uses a simpler path: it connects to the same Wi-Fi network as the printer, reads variables from a user Klipper macro, and forwards the target temperature to the iHeater controller.
On the printer side, you only add a few G-code macros. They receive standard chamber-temperature commands M141 and M191 and store the target in VIRTUAL_CHAMBER.
Slicer / G-code -> M141 S50 -> Klipper macro VIRTUAL_CHAMBER.target=50
                                      |
                                      v
Printer on the local network <- Wi-Fi <- iHeater Link -> signal line -> iHeater
The user does not need root access or internal printer firmware changes. Access to Klipper user macros is enough.
Result
M141 S50 -> target = 50 -> iHeater Link turns heating on
M141 S0  -> target = 0  -> iHeater Link turns heating off
Many modern printers already have a chamber temperature sensor. If the manufacturer provides such a sensor and it is visible in the Klipper configuration, it can be used to send the actual chamber temperature to the portal and iHeater Link. If there is no sensor, iHeater Link can still control heating from the target temperature.
1. Add the macro file
Create virtual_chamber.cfg in the Klipper configuration and include it from printer.cfg:
Contents of virtual_chamber.cfg:
[gcode_macro VIRTUAL_CHAMBER]
variable_target: 0
variable_temperature: -1
variable_has_sensor: 0
gcode:

[gcode_macro M141]
gcode:
  {{ "{%" }} set t = params.S|default(0)|float {{ "%}" }}
  SET_GCODE_VARIABLE MACRO=VIRTUAL_CHAMBER VARIABLE=target VALUE={t}

[gcode_macro M191]
gcode:
  {{ "{%" }} set t = params.S|default(0)|float {{ "%}" }}
  SET_GCODE_VARIABLE MACRO=VIRTUAL_CHAMBER VARIABLE=target VALUE={t}

[gcode_macro CLEAR_VIRTUAL_CHAMBER]
gcode:
  SET_GCODE_VARIABLE MACRO=VIRTUAL_CHAMBER VARIABLE=target VALUE=0
  SET_GCODE_VARIABLE MACRO=VIRTUAL_CHAMBER VARIABLE=temperature VALUE=-1
  SET_GCODE_VARIABLE MACRO=VIRTUAL_CHAMBER VARIABLE=has_sensor VALUE=0
Save the file and restart Klipper, or run RESTART.
2. Optional chamber sensor
Open the printer configuration and check whether it has an object that looks like a chamber temperature sensor. Different vendors and firmware builds may use different names, for example:
If such an object exists, you can expose the actual chamber temperature to iHeater Link. Add the block below to virtual_chamber.cfg and replace heater_generic chamber with the object name from your configuration:
[delayed_gcode UPDATE_VIRTUAL_CHAMBER_TEMP]
initial_duration: 1.0
gcode:
  {{ "{%" }} set t = printer["heater_generic chamber"].temperature|float {{ "%}" }}
  SET_GCODE_VARIABLE MACRO=VIRTUAL_CHAMBER VARIABLE=temperature VALUE={t}
  SET_GCODE_VARIABLE MACRO=VIRTUAL_CHAMBER VARIABLE=has_sensor VALUE=1
  UPDATE_DELAYED_GCODE ID=UPDATE_VIRTUAL_CHAMBER_TEMP DURATION=2.0
For example, if your sensor is defined as [temperature_sensor enclosure], the temperature-read line should reference printer["temperature_sensor enclosure"].temperature.
If there is no sensor or you are not sure, skip this step. The target passed by the M141 and M191 macros is enough for heating control.
3. Enable the Klipper integration in iHeater Link
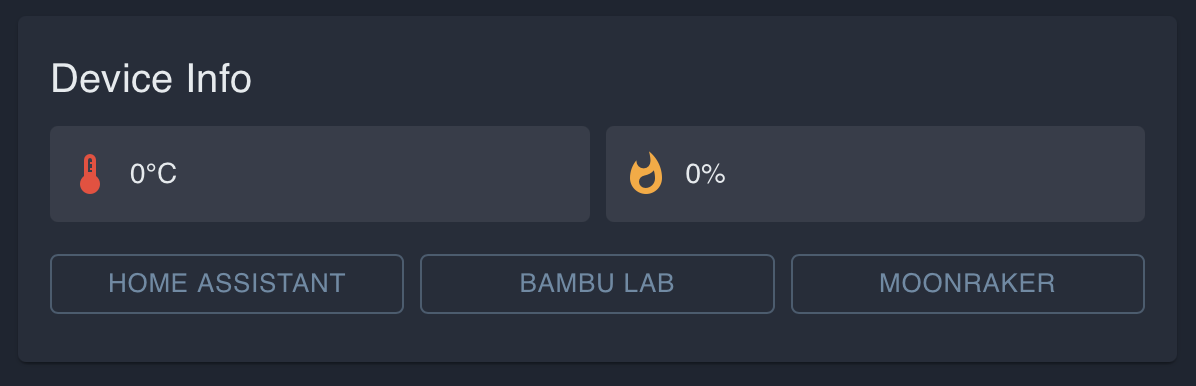
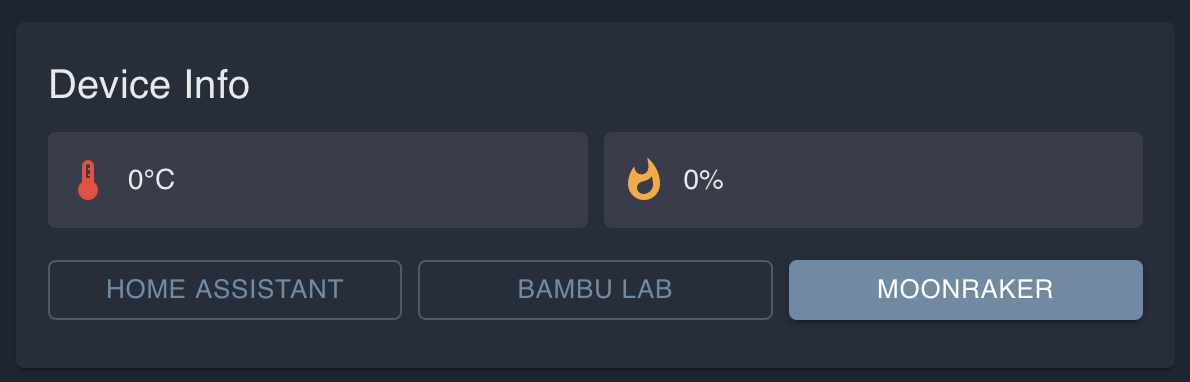
In the portal, open the iHeater Link device and click MOONRAKER in the Device Info block. In the interface, this name is used for Klipper printers.
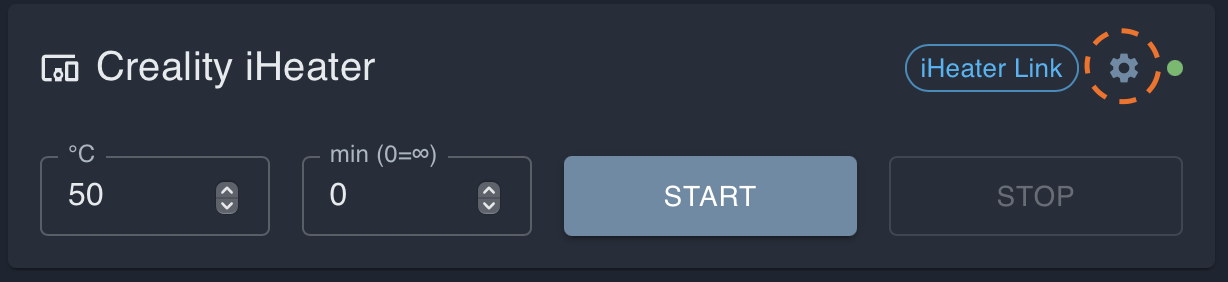
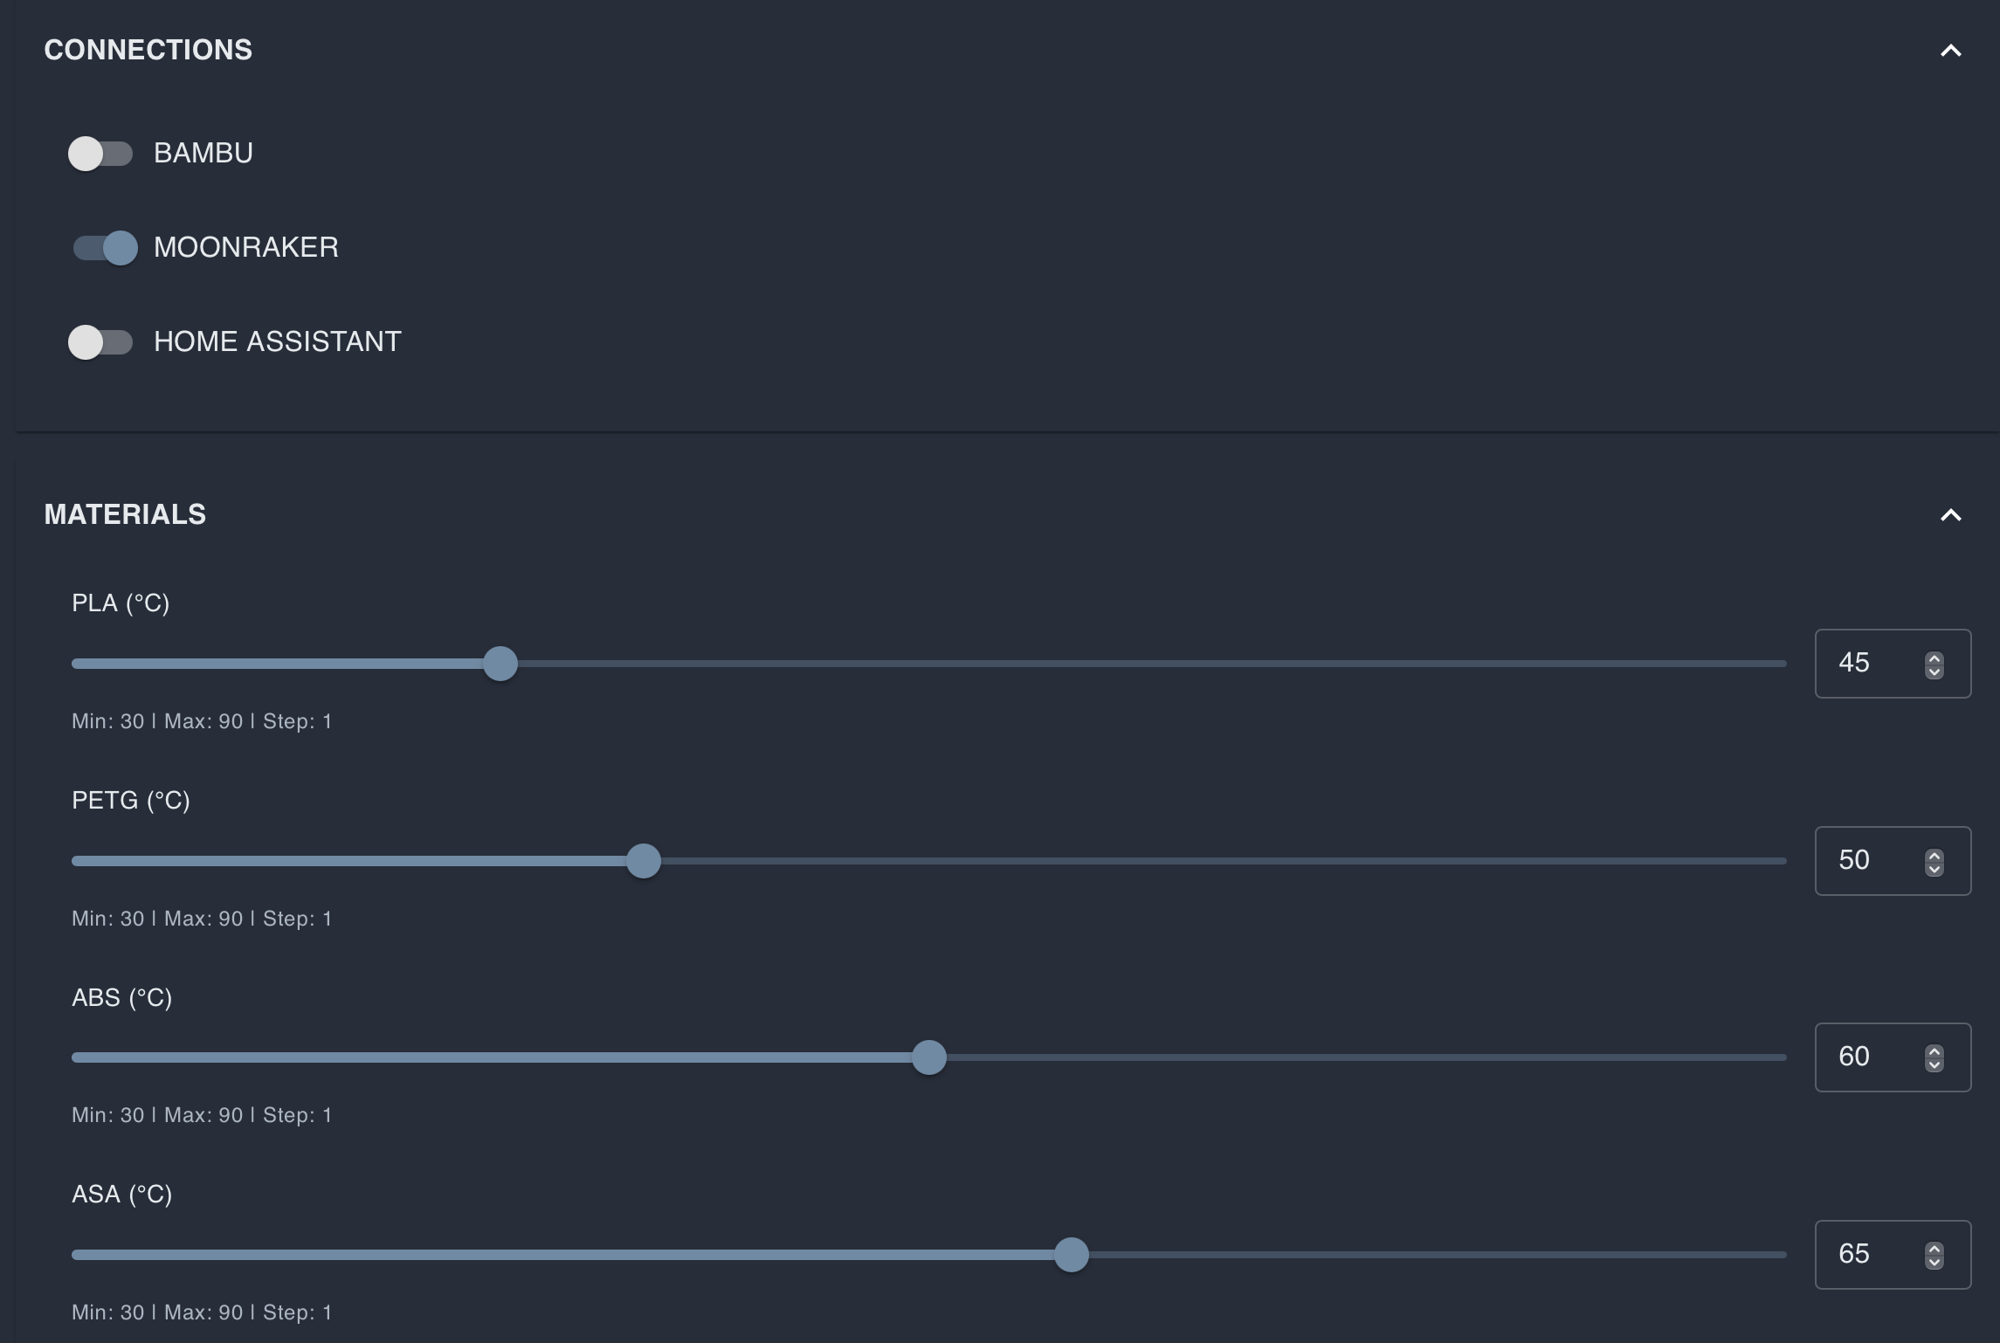
Then click the gear icon in the device card, open device settings, and enable the MOONRAKER connection.
Return to the MOONRAKER settings, enter the printer IP address, and save the settings.
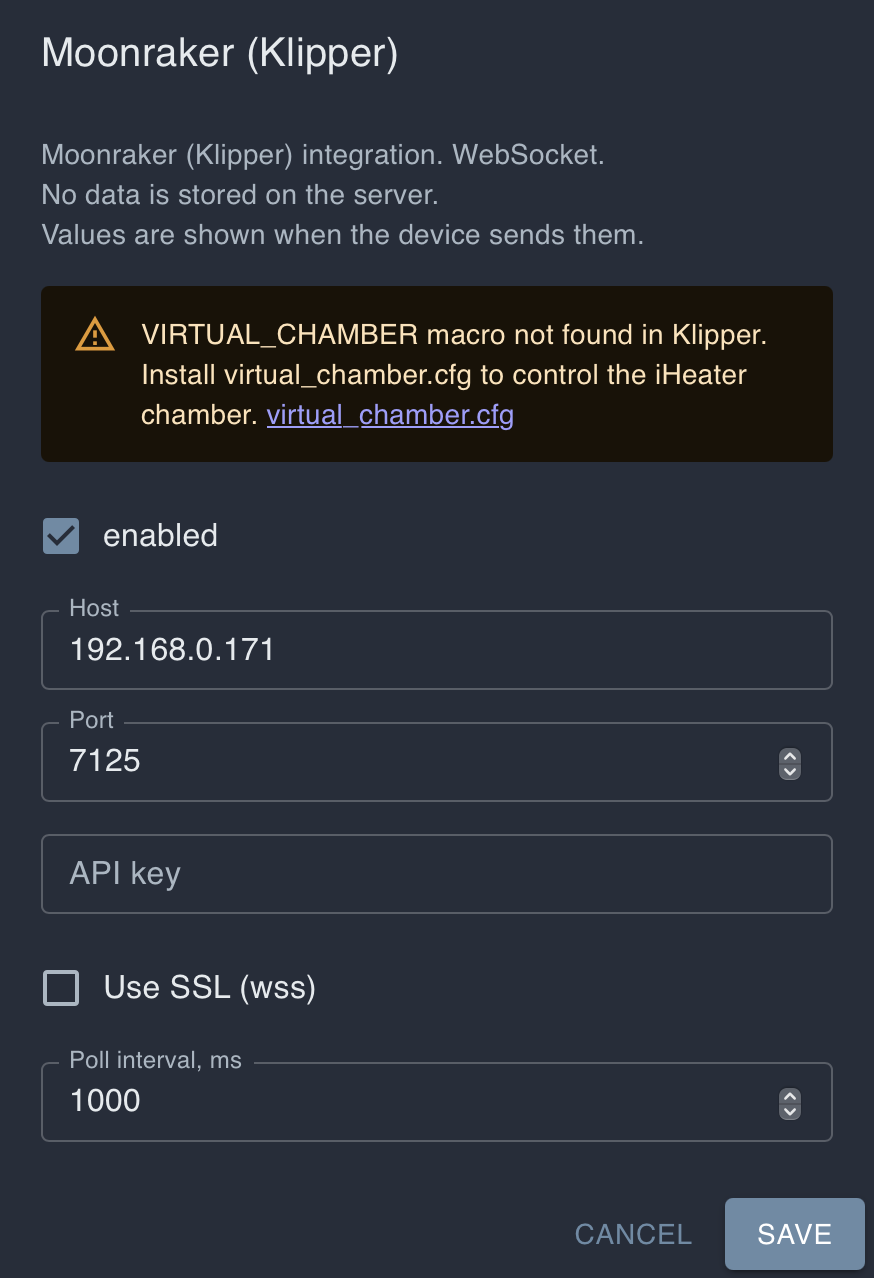
Usually these values are enough:
- Host: printer IP address on the local network;
- Port:
7125; - API key: leave empty unless the printer requires it;
- Use SSL (wss): disabled for a normal local connection;
- Poll interval:
1000.
After saving, iHeater Link starts reading VIRTUAL_CHAMBER.target from Klipper and forwarding it to iHeater.
4. Manual control from the portal
Heating can also be started without a slicer: set the chamber temperature in the device card and click START. The time field sets the heating duration in minutes. If the time is left at 0, iHeater will run without a time limit until you click STOP or send an off command.
5. Test the macros
Run in the Klipper console:
iHeater Link should receive target=50 and turn iHeater heating on.
Then run:
The target becomes 0, and iHeater Link turns heating off.
6. Configure the slicer
The slicer does not need to know about VIRTUAL_CHAMBER. It only needs to send standard chamber-temperature commands:
M141 S{T}: set chamber temperature without waiting;M191 S{T}: set chamber temperature and wait.
The Klipper macros intercept these commands and write the value into VIRTUAL_CHAMBER.target.
OrcaSlicer / Bambu Studio
Set chamber temperature in the filament profile:
For example:
- ABS / ASA:
40-50 °C; - PLA:
0 °C.
Check the beginning of the generated G-code. It should contain a line like:
PrusaSlicer / SuperSlicer
Use the chamber-temperature field if the profile has one. If it does not, add the command manually to Start G-code:
7. Always turn heating off at the end
The target is not cleared automatically at the end of a print. Add this to End G-code:
or:
This resets VIRTUAL_CHAMBER.target to 0, and iHeater Link turns iHeater off.